Introduction
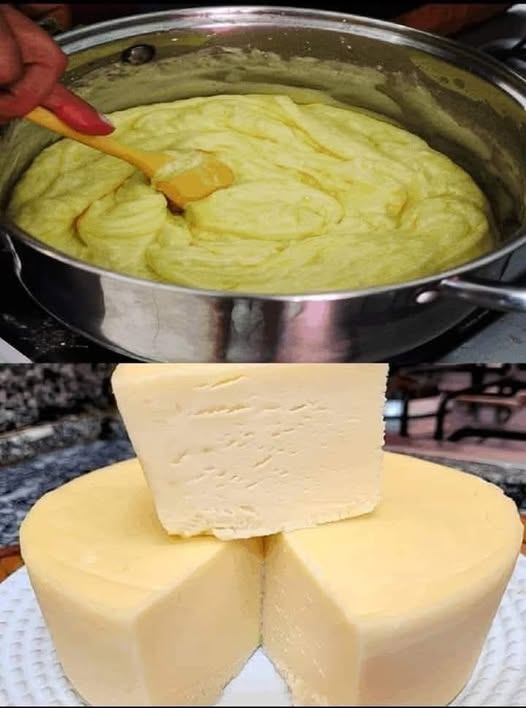
Have you ever wondered how to create your own cheese without the need for fancy equipment or complicated techniques? Well, you’re in for a delightful surprise! With just two simple ingredients – milk and vinegar – you can whip up a variety of delicious cheeses right in your own kitchen.
In this blog post, we’ll explore the fascinating world of homemade cheese, uncovering the science behind the process, the incredible health benefits, and a step-by-step guide to making your very own cheesy creations.
The Science Behind It
Milk is a complex emulsion of fat, protein, and water. When an acid, such as vinegar, is added to milk, it causes the proteins to coagulate, separating into curds (solid) and whey (liquid). This process, known as curdling, is the foundation of cheesemaking.
The Health Benefits of Homemade Cheese
Homemade cheese offers a range of health benefits:
- Nutrient-Rich: Cheese is an excellent source of calcium, protein, and vitamin B12, essential for bone health, muscle growth, and nerve function.
- Probiotics: Some cheeses, particularly those made with live cultures, contain probiotics that promote gut health and boost immunity.
- Reduced Sodium: Homemade cheese allows you to control the amount of salt added, making it a healthier option than store-bought varieties.
- Fresh and Flavorful: Homemade cheese is fresher and more flavorful than store-bought options, as it doesn’t contain preservatives or additives.
Making Your Own Homemade Cheese
Equipment:
- Large pot
- Spoon
- Cheesecloth or fine-mesh strainer
- Bowl
Ingredients:
- 1 gallon (4 liters) whole milk
- 1/4 cup white vinegar
Instructions:
- Heat the Milk: Pour the milk into the large pot and heat it over medium heat until it reaches about 90°F (32°C). You can use a thermometer to check the temperature.
- Add the Vinegar: Slowly pour the vinegar into the warm milk while stirring gently. The milk will begin to curdle and separate into curds and whey.
- Drain the Curds: Line a strainer with cheesecloth and place it over a bowl. Carefully pour the curds and whey into the strainer. Let the curds drain for about 30 minutes, or until the whey has mostly drained away.
- Shape the Cheese: Once the curds have drained, you can shape them into your desired cheese. You can press them into a mold, roll them into balls, or simply leave them in a block.
- Age the Cheese (Optional): For a more complex flavor, you can age the cheese. Wrap it in cheesecloth and store it in a cool, dry place for a few days or weeks.
Tips for Perfect Homemade Cheese
- Use Fresh Milk: Fresh, unpasteurized milk works best for homemade cheese. However, pasteurized milk can also be used.
- Control the Acidity: The amount of vinegar you add will determine the acidity of the cheese. For a milder cheese, use less vinegar. For a tangier cheese, use more vinegar.
- Experiment with Flavors: Add herbs, spices, or even fruits to your cheese for unique flavor combinations.
- Store Properly: Store your homemade cheese in the refrigerator, wrapped in wax paper or plastic wrap.
Delicious Homemade Cheese Recipes
1. Ricotta Cheese
Ricotta is a soft, creamy cheese that’s perfect for pasta dishes, pastries, and desserts.
2. Cottage Cheese
Cottage cheese is a versatile cheese that can be enjoyed on its own or used in various recipes.
3. Paneer
Paneer is a popular Indian cheese that’s often used in curries and stir-fries.
4. Feta Cheese
Feta is a tangy, crumbly cheese that’s perfect for salads, dips, and pastries.
5. Cream Cheese
Cream cheese is a rich, spreadable cheese that’s often used in cheesecakes and frosting.
Conclusion
Making your own cheese at home is a rewarding and delicious experience. With just a few simple ingredients and a little patience, you can create a variety of cheeses that are both healthy and flavorful. So, why not give it a try? You might be surprised at how easy and fun it is to make your own dairy delights!
