Introduction
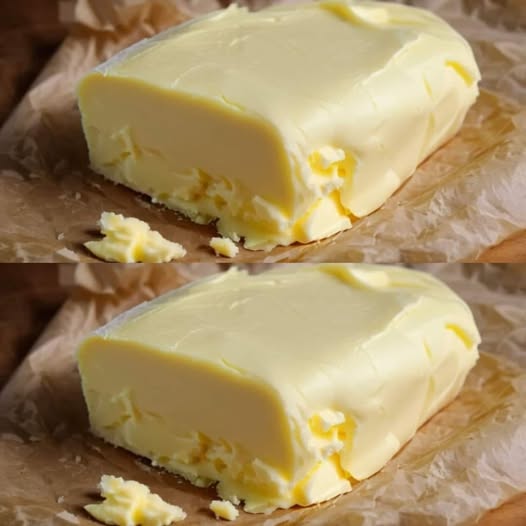
Homemade butter is a delicious and versatile ingredient that can elevate the flavor of your meals. It’s also a healthier alternative to store-bought butter, often packed with preservatives and artificial additives. In this blog post, we’ll guide you through the simple process of making your own butter at home, highlighting its numerous benefits and sharing a delicious recipe.
Why Make Your Own Butter?
- Control Over Ingredients: When you make your own butter, you have complete control over the ingredients. You can use organic, grass-fed cream to ensure a higher quality product.
- Healthier Option: Homemade butter is often free from preservatives and artificial additives, making it a healthier choice for your family.
- Fresh and Flavorful: Freshly made butter has a rich, buttery flavor that surpasses store-bought options.
- Cost-Effective: Making your own butter can be more cost-effective in the long run, especially if you buy cream in bulk.
Ingredients:
- 1 cup heavy cream
Equipment:
- Glass bowl
- Whisk or electric mixer
- Cheesecloth or fine-mesh strainer
Instructions:
- Chill the Cream: Chill the heavy cream in the refrigerator for at least 30 minutes. Cold cream separates more easily into butterfat and buttermilk.
- Whisk the Cream: Using a whisk or an electric mixer, begin whisking the cold cream. Initially, you’ll notice the cream becoming thicker.
- Separate the Butterfat: Continue whisking until the butterfat separates from the buttermilk. The butterfat will clump together, while the buttermilk will be a liquid.
- Drain the Buttermilk: Pour the mixture into a cheesecloth or fine-mesh strainer. Gently press the buttermilk out of the butterfat.
- Rinse the Butter: Rinse the butter under cold water to remove any remaining buttermilk.
- Shape the Butter: Shape the butter into a desired form, such as a log or a disk.
- Store the Butter: Wrap the butter in parchment paper and store it in the refrigerator.
Tips for Making Perfect Homemade Butter:
- Temperature Control: The colder the cream, the easier it is to separate the butterfat.
- Patience: The process of churning butter can take some time. Be patient and keep whisking until the butterfat separates.
- Water Temperature: Use cold water to rinse the butter to maintain its firmness.
- Storage: Store your homemade butter in the refrigerator for up to a week. For longer storage, consider freezing it.
Delicious Ways to Use Homemade Butter
- Spread on Toast: Enjoy a slice of toasted bread with a generous amount of butter.
- Baking: Use homemade butter in baking recipes for a richer flavor.
- Cooking: Sauté vegetables or meats in butter for a delicious flavor.
- Homemade Butter Sauce: Combine butter with herbs, spices, and lemon juice for a flavorful sauce.
By making your own butter, you can enjoy a healthier, more flavorful, and more satisfying product. Give it a try and savor the taste of homemade goodness!
